How To Resolve Windows 11 Update Issues
You may encounter difficulties when finding or installing updates, but clearing the cache often resolves the issue. This process helps fix Windows Update problems by prompting Windows to re-download all necessary files.
A simple way to clear the update cache is by using File Explorer. This method removes all update cache files.
Open the Run dialog box by pressing Windows+R. Type the following in the box and press Enter:
services.msc
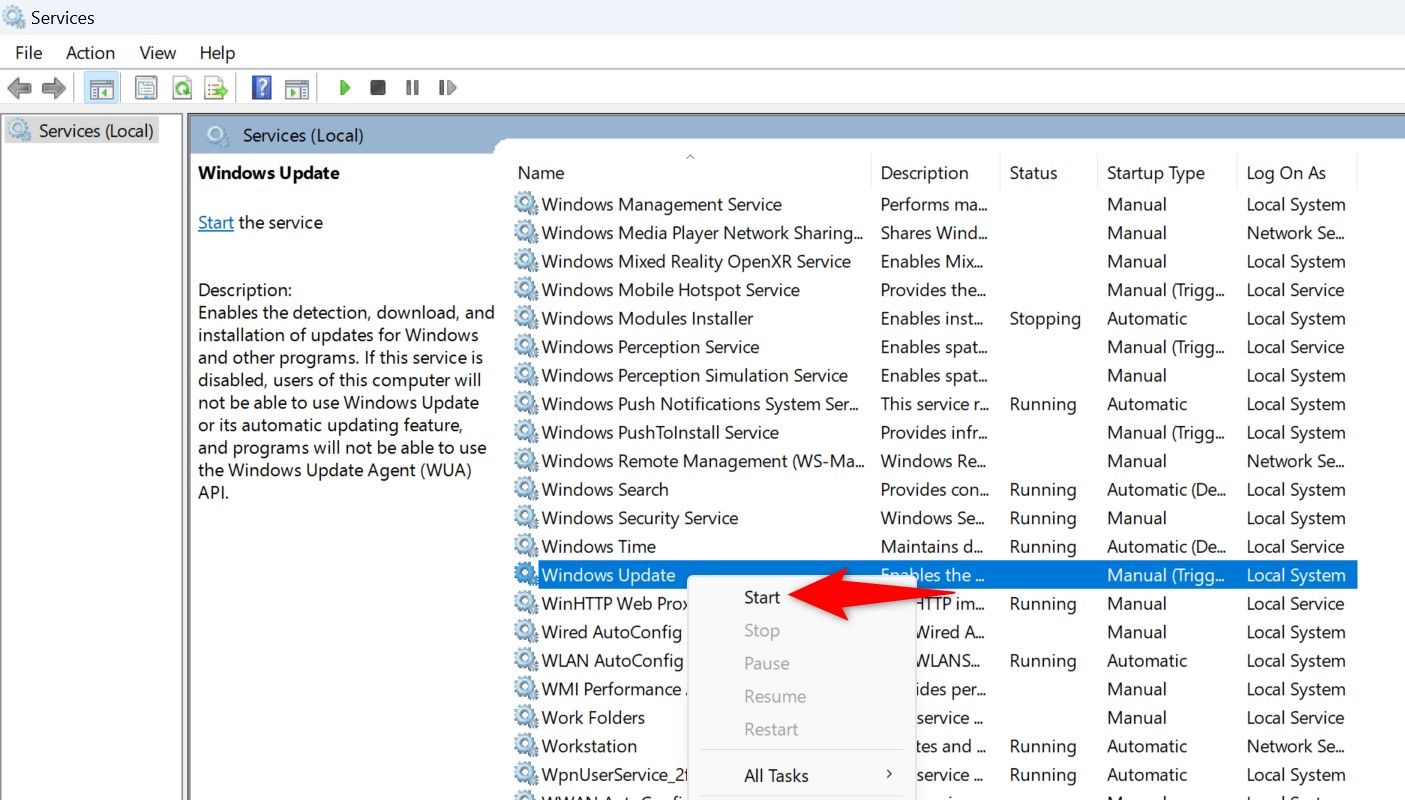
- In the Services window, find the Windows Update service. Right-click it and select "Stop." Keep this window open as you’ll come back here later.

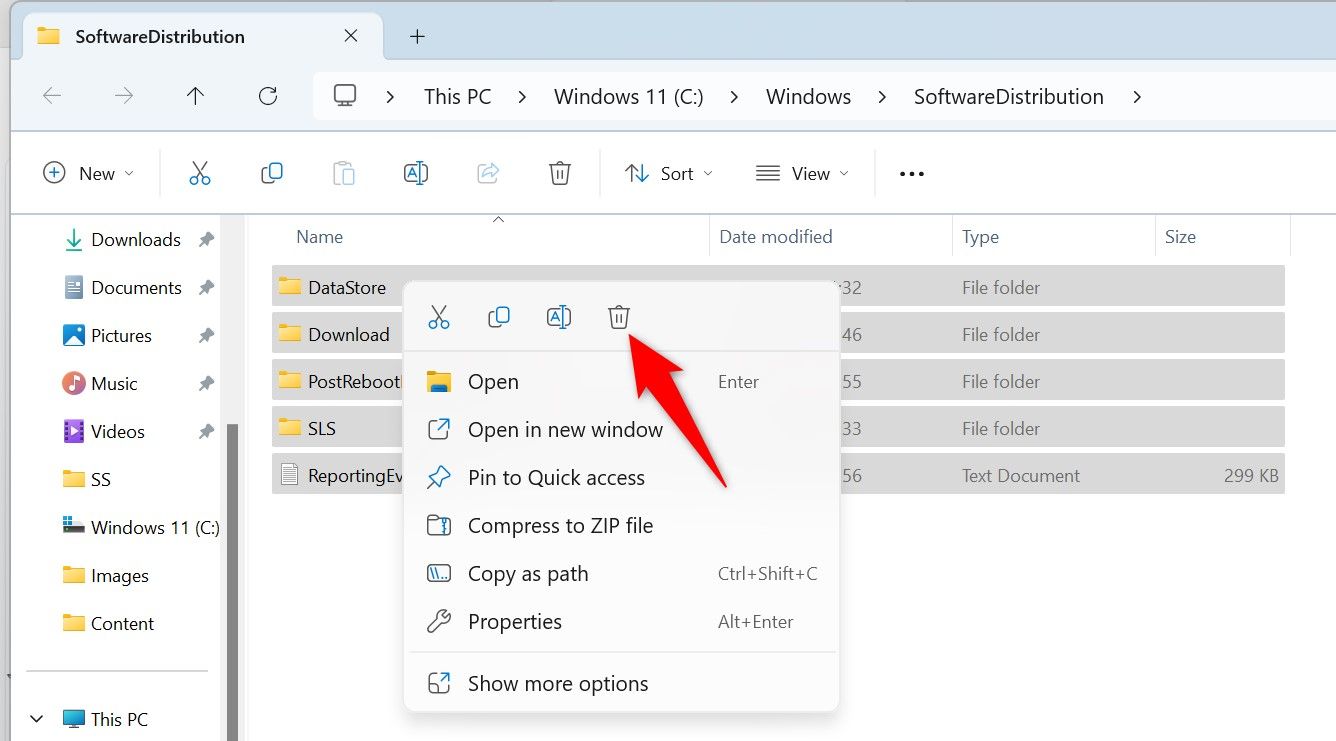
Open the Run dialog again by pressing Windows + R, enter the path below in the box, and press Enter. This path leads to the Windows Update cache folder, assuming Windows is installed on the C:\ drive. If it's installed on a different drive, simply change the drive letter in the path.
C:\Windows\SoftwareDistribution\
- Press Ctrl+A to select all files in the open folder. Right-click a selected file and choose the trash can icon (Windows 11) or "Delete" (Windows 10).
- Close File Explorer and empty the Recycle Bin.
- Then, return to the "Services" window, right-click "Windows Update," and choose "Start
This ensures your PC can continue to look for the latest updates. You can then reopen the Windows Update page, and the newest update should now download and install correctly.
Comments
0 comments
Article is closed for comments.